CyberPanel intsallation is very easy. You can install cyberpanel using one command. In this article we will discuss how to install CyberPanel install Ubuntu 20.04.
Officially CyberPanel supports a few different OS including Ubuntu 22.04, ubuntu 20.04, Alamalinux 8, Alamalinux 9, CloudLinux 7, and CloudLinux 8.
Here is an official guide cyberpanel install.
What is CyberPanel?
CyberPanel is a web hosting control panel designed to simplify server management. It supports one-click installations for popular applications like WordPress, Joomla, and Drupal, and offers features like email management, DNS control, and SSL certificate installation. Built on OpenLiteSpeed, CyberPanel is known for its high performance and low resource consumption, making it an excellent choice for both beginners and experienced users.
Why Choose CyberPanel?
- Speed: OpenLiteSpeed, the underlying web server, is optimized for performance, ensuring fast loading times for your websites.
- Ease of Use: CyberPanel’s intuitive interface makes server management accessible to users of all skill levels.
- Cost-Effective: As an open-source solution, CyberPanel is free to use, making it a budget-friendly option for small businesses and individuals.
- Security: CyberPanel includes built-in security features like ModSecurity and ImunifyAV, helping to protect your server from threats.
How CyberPanel install Ubuntu 20.04 Work?
Prerequisites for cyberpanel install ubuntu 20.04
Before diving into the installation process, ensure that you have the following:
- A server running Ubuntu 20.04.
- Root or sudo access to the server.
- A stable internet connection.
- A domain name pointed to your server’s IP address (optional but recommended).
Step 1: Update Your System
Start by updating your system to ensure all packages are up to date. Open your terminal and run the following commands:
sudo apt update
sudo apt upgrade -y
This will update your package list and upgrade any outdated packages.
Step 2: Run cyberpanel install ubuntu 20.04
To install the Cyberpanel on your server just get the ssh access of your server and access it via any ssh client like bitwise.
Once you are logged in just go to the terminal and run a single command:
sh <(curl https://cyberpanel.net/install.sh || wget -O - https://cyberpanel.net/install.sh)
Step 3: Follow the On-Screen Instructions
The installer will guide you through the process, asking for inputs such as:
- Selecting the version of CyberPanel: Choose between the stable version or the latest pre-release version.
- Setting up DNS: You can choose to install PowerDNS for DNS management.
- Setting up Email: You can opt to install Postfix for email services.
- Setting up a Password: You’ll be prompted to set a password for the CyberPanel admin panel.
Once you’ve made your selections, the installer will proceed with the installation. This may take a few minutes, depending on your server’s specifications and internet speed.
Step 4: Access CyberPanel
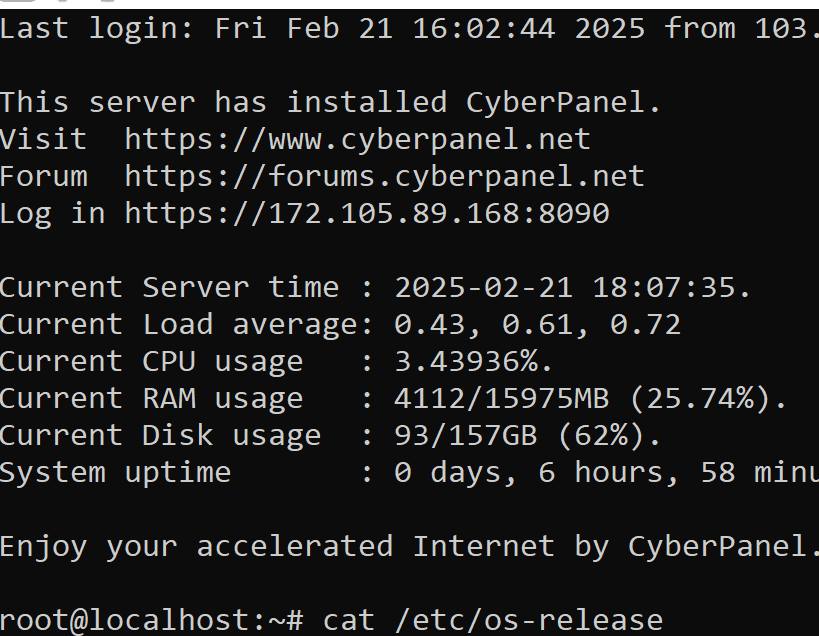
After the installation is complete, you can access CyberPanel by navigating to:
https://your-server-ip:8090
Replace your-server-ip with your server’s actual IP address. You’ll be greeted with the CyberPanel login page. Use the username admin and the password you set during the installation process to log in.
Step 5: Secure Your Installation
It’s crucial to secure your CyberPanel installation. Here are a few steps you can take:
- Change the Default Password: After logging in, change the default admin password to something more secure.
- Enable Firewall: Ensure that your server’s firewall is enabled and configured to allow only necessary ports.
- Install SSL Certificates: CyberPanel makes it easy to install free SSL certificates using Let’s Encrypt, ensuring secure communication between your server and users.
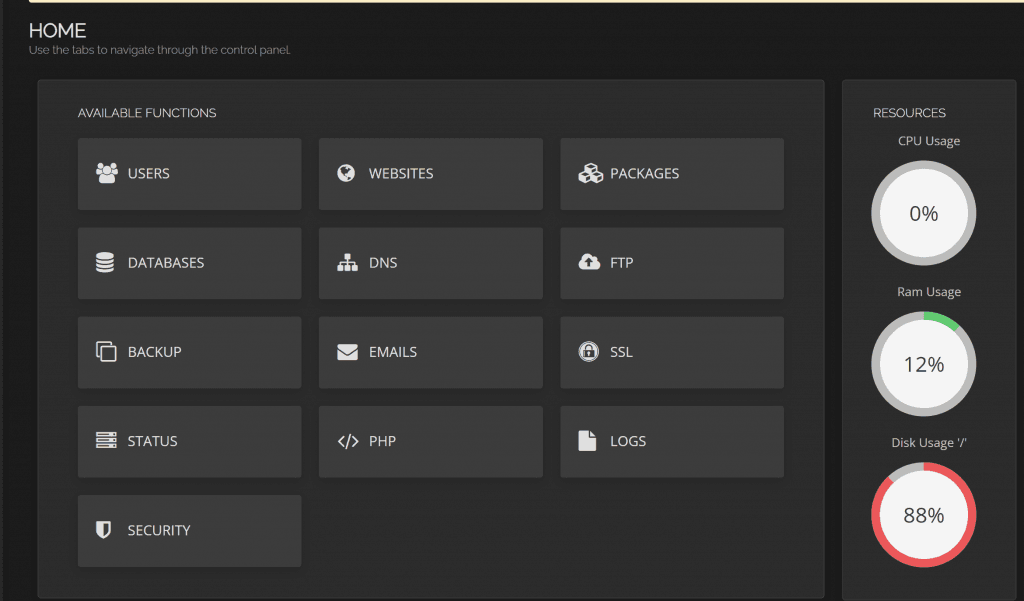
Step 6: Explore CyberPanel Features
Once logged in, take some time to explore CyberPanel’s features. You can:
- Create Websites: Easily set up new websites with just a few clicks.
- Manage Databases: Create and manage MySQL databases.
- Set Up Email Accounts: Create email accounts for your domains.
- Monitor Server Performance: Use the built-in monitoring tools to keep an eye on your server’s health.
Conclusion
Installing CyberPanel on Ubuntu 20.04 is a straightforward process that can significantly simplify server management. Whether you’re a seasoned developer or a beginner, CyberPanel offers a user-friendly interface and powerful features to help you manage your web hosting environment efficiently. By following this guide, you should now have a fully functional CyberPanel installation ready to handle your websites and applications.
Remember, the key to a successful server management experience is regular maintenance and staying updated with the latest security practices. Happy hosting!
Here you can read How to log in to the Rainloop admin dashboard?
Read More: How to Change Upload limit On CyberPanel?
How to Change Upload limit On CyberPanel?
You can follow us on Facebook too.